The first time I tried to make a dark thrifted dresser lighter, I sanded one corner into a pale divot and then stood there holding the orbital sander like it had betrayed me. So before you learn how to lighten stained wood, know this: the finish, the type of wood, and your patience matter more than the brand of product on the shelf. You can get a warm, lighter finish without turning a decent table into a patchy craft-store project.
Start by identifying the finish and the wood
Stain is not paint. It soaks into the wood fibers, while a clear finish such as polyurethane, lacquer, shellac, or varnish sits on top. If you skip that distinction, your sandpaper will clog, your stripper will do nothing, or you will remove the finish while barely changing the color underneath.
Begin underneath the furniture, inside a drawer, or along the back edge. Look for unfinished wood, a manufacturer label, or a spot where the color is already worn. A dark cherry-colored dresser could be cherry, maple, birch, pine, or a tinted finish over something inexpensive. Those woods will not lighten in the same way. Pine often develops pale and dark bands; veneer can look beautiful but cannot tolerate aggressive sanding; solid oak usually gives you more room to work.
Clean the piece with a degreasing dish soap solution first, then let it dry completely. Grease from hands, polish, and cooking residue can make every next step unreliable. I use a soft scrub pad and a diluted household cleaner, followed by a clean damp cloth. Do not soak antique veneer or leave water sitting near joints.
Test a small hidden area before touching the top
The best answer to how to lighten stained wood begins with a test patch. Choose a two-inch section inside a leg, beneath a drawer, or on the rear rail. Put on chemical-resistant gloves and eye protection, open windows, and keep heat sources away from solvent products. A cheap disposable brush, plastic scraper, and several grades of sandpaper are usually enough; you do not need a $200 refinishing setup.
If the wood has a glossy surface, try 120-grit sandpaper on the test area. Sand with the grain and stop as soon as the shine disappears. Follow with 180 grit to smooth scratches. If the color barely changes, the stain has penetrated more deeply. At that point, a gel stripper can remove the clear coat and some finish, but it will not magically pull every molecule of stain from the wood.
Give the patch time to dry before judging it. Wet wood often looks darker, and mineral spirits can temporarily reveal the final color more accurately. I once rejected a perfectly good maple nightstand because the test area looked muddy for ten minutes. The next morning it was a soft honey color, and the nightstand became Gloria's bedside table.
Choose the least destructive method that works
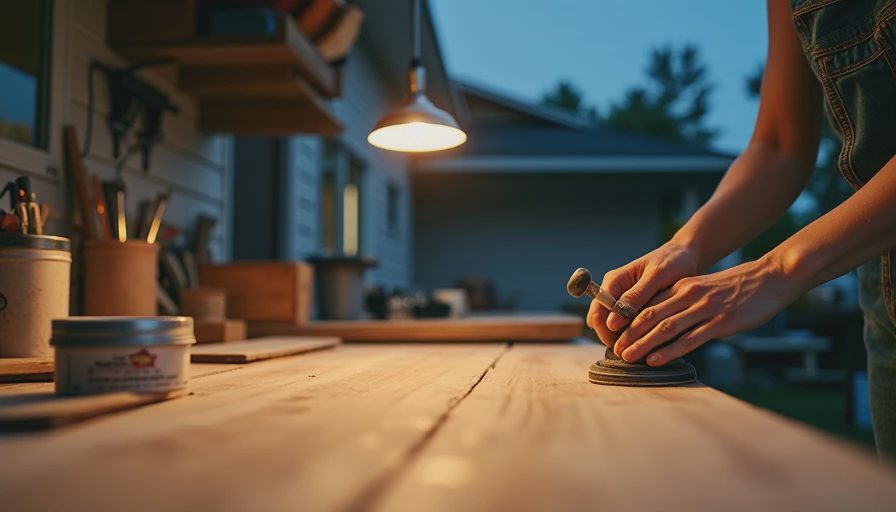
For a mildly too-dark finish, sanding is usually the most controlled option. Use a sanding block on flat surfaces and a folded piece of paper around profiles. An orbital sander is useful on a broad solid-wood top, but it can erase edges quickly. Keep it moving, use light pressure, and check your progress often. Sanding through veneer can happen in seconds, especially on corners.
When the finish is thick, cracked, or sticky, use a low-odor gel stripper designed for furniture. Brush on a generous coat, wait according to the label, and scrape softened finish with a plastic scraper. Metal tools can gouge soft wood. Dispose of residue according to local rules, and do not assume a product is safe just because it says low odor.
For pale, even results, a two-part wood bleach made for furniture can work better than household chlorine bleach. Oxalic acid is useful for certain dark water or iron stains, but it is not a general-purpose color remover. Chlorine bleach can weaken fibers and produce an unnatural, washed-out appearance. This is one of those jobs where the strongest bottle is rarely the smartest bottle.
How to lighten stained wood without making it look gray
After stripping or sanding, wipe away dust with a vacuum and a slightly damp microfiber cloth. Let the piece dry overnight. If you rush to add a new finish, trapped moisture and sanding dust can create cloudy patches that are much harder to fix.
If the color is uneven, do not keep sanding one dark spot deeper. That creates a shallow crater, not an attractive finish. Instead, blend the surrounding area gradually with 180- or 220-grit paper. On a solid wood surface, you can sometimes use a wood bleach product, but always neutralize or rinse it exactly as directed and allow extra drying time. Bleached wood may feel fuzzy, so a gentle pass with 220 grit is normal.
A wash of diluted white or cream paint can also soften an orange finish without pretending the piece is raw wood. Mix a small amount of water-based paint with water, brush it on, and wipe it back quickly. Test first: the goal is translucent color, not a streaky farmhouse sign. I prefer this approach when the original stain is attractive but too red for the room.
Refinish the surface for daily life
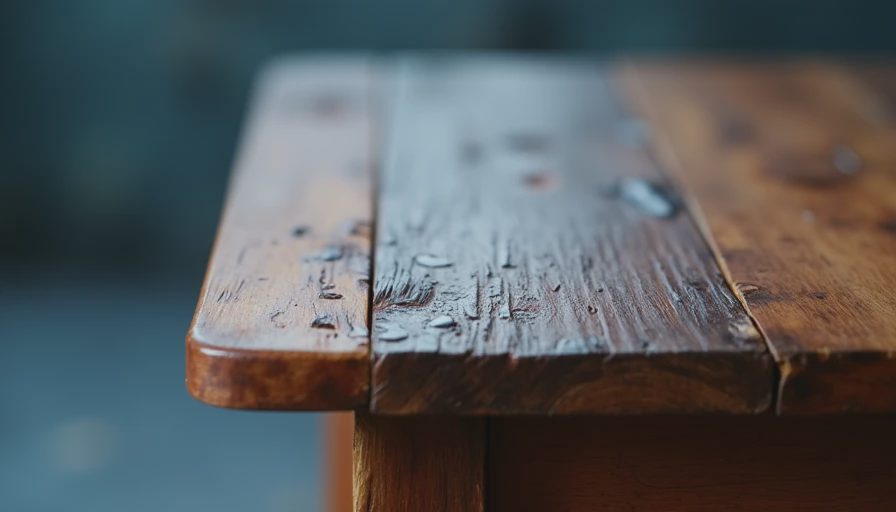
Once the color is right, protect it. A water-based polyurethane in satin or matte usually keeps light wood looking less amber than traditional oil-based polyurethane. General Finishes High Performance, Varathane Water-Based, and Minwax Polycrylic are common options I have used on furniture; apply thin coats and follow the recoat time. Two or three thin coats are better than one thick, milky coat.
For a low-use decorative cabinet, furniture wax can feel pleasant and look handsome, but it is not my first choice for a dining table, desk, or family dresser. Wax marks more easily and eventually needs refreshing. A hardwax oil can give a natural, touchable surface, although it still requires careful application and cure time.
Do not judge the final color until the finish has dried. Every clear coat slightly changes the appearance, even products labeled non-yellowing. Put a sample board near the furniture and look at it in morning, afternoon, and lamplight. The finish that looks perfect beside a window can appear gray under a warm bulb.
Common mistakes that cost more than the furniture
The biggest mistake is assuming every dark piece should become blonde wood. Some stains are deep, and some woods are naturally dark. If you sand for hours and the color barely moves, stop. A soft painted base, a lighter tinted wash, or a darker-than-planned natural finish may save the piece.
Another mistake is skipping repairs. Fill dents before the final sanding, tighten loose joints, and replace missing veneer before bleaching. Color correction will not hide a wobbly leg. Also avoid sanding across the grain, using a household iron to “lift” every mark, or mixing cleaners and stripping chemicals. Those tricks belong in the category of internet advice that looks impressive until your table smells like a science fair.
If you are learning how to lighten stained wood on valuable antique furniture, pause before applying bleach. Original patina, veneer, and old finishes can be part of the piece's value. For a $35 marketplace side table, experimentation is reasonable. For inherited furniture, get a conservator's opinion before removing anything.
My practical furniture-lightening plan
I would clean the piece, test the hidden area, and photograph the original color before doing anything irreversible. Then I would remove only the clear coat if that gives enough improvement. If not, I would sand carefully, working from 120 to 180 to 220 grit, and consider a furniture bleach only after the test patch proves it helps.
Budget about $15 to $30 for sandpaper, gloves, brushes, and a small finish, or $35 to $60 if you add stripper and bleach. That is still less than replacing a solid wood table because the tone feels wrong. Work in stages, let the wood dry, and make each decision in daylight.
The answer to how to lighten stained wood is not one miracle product. It is controlled removal, small tests, and knowing when the surface is good enough. My favorite pieces still show a little grain variation and one or two honest marks. Taste is free. Everything else, we thrift.



Letters
No letters yet — be the first to write.