If you have plans to make a loft bed, I am going to say the unfashionable thing first: do not begin with a pretty Pinterest photo. Begin with your ceiling height, mattress size, wall locations, and a tape measure. I have built enough questionable furniture to know that a loft bed can create an excellent bedroom, office, or reading nook, but only when the structure is designed for the actual room instead of an imaginary one.
A loft bed is also not the place to improvise with wobbly shelving, mystery hardware, or a charming old ladder from Facebook Marketplace. The finished piece needs to carry a mattress, sleeper, bedding, and the occasional person sitting up too quickly. Taste is free. Everything else, we thrift. Structural safety is the exception.
Start with the room, not the lumber
Measure from the floor to the ceiling in at least three places. Old apartments, especially brownstones, are not always level, and a quarter-inch difference can become a very annoying surprise. Measure the mattress, too. A standard twin is about 38 by 75 inches, while a twin XL is longer. Add several inches around the mattress for a guardrail, bedding, and comfortable access.
The most useful question is how much sitting height you need beneath the platform. For a child, 30 to 36 inches can create a useful play or storage zone. For an adult desk, I prefer closer to 48 inches, although that usually means less headroom above. Nobody wants to climb into bed and meet the ceiling with their forehead. Leave enough clearance for the sleeper to sit without hunching.
Mark the platform height on the wall with painter's tape. Then place a chair or stack of boxes beneath it and test the room for a full day. Walk around, open drawers, carry laundry, and imagine changing sheets. This cheap rehearsal catches more mistakes than a $40 bundle of lumber.
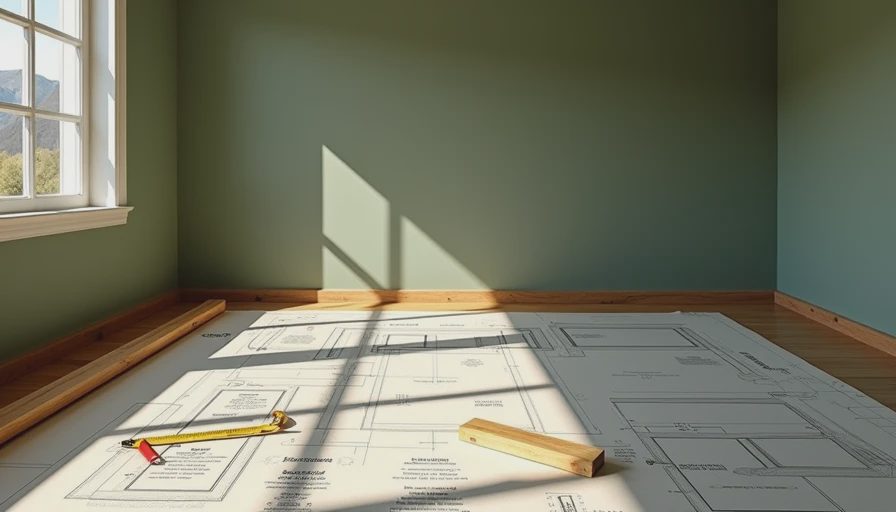
What my plans to make a loft bed actually include
My current design uses a simple rectangular platform supported by four substantial posts, with a ladder on one short end and guardrails on the exposed sides. The platform is not fastened only to drywall. If the bed touches a wall, I locate studs and use appropriate structural fasteners, but the frame still stands on its own posts. That matters in a rental, where you may not be allowed to turn the walls into a construction project.
For materials, I would budget roughly $250 to $450 for new construction-grade lumber, plywood, screws, bolts, sanding supplies, and finish. A twin version can come in lower if you find straight, usable boards secondhand. I would not thrift the mattress support hardware or use damaged wood simply because the price is zero. Free lumber that is twisted, split, or water-stained is not a bargain.
Use a real cut list. For a basic twin, that may include four posts, long and short rails, platform slats, guardrail pieces, ladder sides, and steps. Have the lumberyard make the long cuts if you do not have a reliable saw. A clean cut is cheaper than replacing a board after your circular saw wanders.
Build the platform like furniture, not a stage prop
The platform is where most charming DIY projects reveal their sins. Assemble the long rails and end rails squarely, then check both diagonals. If the diagonal measurements do not match, the frame is racked. Fix that before adding slats or the problem will simply become heavier.
I like a bolted frame with wood screws used where appropriate, rather than relying on a handful of screws driven into end grain. Follow the hardware manufacturer's instructions and choose fasteners rated for structural connections. Do not substitute drywall screws; they are brittle and not designed for this job.
Space slats evenly across the frame so the mattress has continuous support. The exact spacing depends on the mattress and bed base, but wide unsupported gaps are a bad idea. Sand every edge, especially around the ladder and guardrails. I used a beautiful reclaimed board once that looked perfect until a child found the one splinter I missed. That board became a shelf.
Guardrails, ladders, and the boring details that save skin
A raised bed needs guardrails on every open side, with an opening only where the ladder meets the platform. The rail should rise clearly above the mattress, not disappear behind a thick pillow-top mattress. Measure with the actual mattress in place. A rail that worked on paper can become decorative trim after bedding is added.
The ladder needs wide, secure steps and a slight angle if the room allows it. Narrow dowels are not steps; they are ankle traps. Attach the ladder at both the top and bottom, and test it with gradual weight before anyone climbs to bed. I have seen ladders that looked sturdy until they shifted sideways under one foot. That is a hard no.
Round over sharp corners with a router or sanding block. Tighten every bolt after the first few uses, then inspect the structure periodically. Children should not be encouraged to leap from the platform, and younger sleepers may need a different bed entirely. Follow the safety guidance that came with the mattress and bed hardware, and use your judgment about the age and mobility of the sleeper.
Making the underside useful without making it gloomy
The space beneath a loft bed is valuable real estate, but it does not have to become a storage cave. In my apartment, I would put a narrow desk under one side, a low dresser under the other, and leave enough open floor for a chair to pull out. Use a plug-in wall sconce or a clamp light with protected wiring rather than a dangling cord near the ladder.
Paint can make the underside feel intentional. I like a warm white on the ceiling and one saturated color on the back wall, such as deep olive, brick red, or a soft navy. Paint the structure before final assembly if possible; your shoulders will thank you. A matte finish hides small dents, while satin is easier to wipe in a child's room.
For storage, use low bins that slide fully underneath. Avoid tall furniture that blocks the escape route or creates an awkward climbing arrangement. Measure the bins before building. This sounds obvious, but I once designed a shelf around a basket that was discontinued two weeks later. The replacement basket was three inches taller and deeply smug about it.
My final checklist before anyone sleeps up there
The strongest plans to make a loft bed include a test period before bedtime. Push the assembled frame from several directions. It should not sway, rock, or make alarming popping sounds. Inspect every connection, confirm that bolts are tight, and verify that the ladder does not lift away from the floor.
Check that the mattress fits the platform without a dangerous gap. Confirm the guardrail remains high enough above the mattress. Look for exposed screw points, rough corners, unstable furniture beneath the bed, and cords that could catch on the ladder. If the bed is near a window, radiator, ceiling fan, or sprinkler, reconsider the layout before construction.
Give the finished frame a few days of ordinary use with an adult testing it first. Recheck the fasteners after the first week. If anything moves, stop using it until the cause is fixed. A loft bed should feel boringly solid. That is the compliment you want.
The honest budget verdict
Plans to make a loft bed can save serious floor space and money, but only if you count tools, finish, hardware, and the time spent correcting mistakes. A basic purchased loft bed may cost $300 to $1,000 or more, while a careful DIY build can land around $250 to $600. The cheaper option is not automatically the better option if it takes three weekends and leaves you with a dangerous frame.
My position is simple: build it yourself when you can measure accurately, use structural hardware, and test the finished piece without cutting corners. Buy a tested bed when you cannot verify the materials or when the sleeper needs specialized safety features. Style can come from paint, bedding, and a thrifted lamp. Stability needs a better plan. The best plans to make a loft bed end with a sturdy place to sleep, not an emergency trip to the hardware store.



Letters
No letters yet — be the first to write.