Paper xmas stars are one of the few holiday decorations I make every year without immediately regretting the decision. They cost very little, take up almost no storage space, and look genuinely good when grouped in a window or hung over a dining table. I say this as someone who has produced plenty of handmade decor that belonged in the recycling bin before dinner.
The trick is restraint. One tiny paper star taped to a wall looks like a school project. A group of five to nine stars in related colors looks intentional. You do not need a cutting machine, specialty tools, or a craft room with labeled drawers. My dining table, a sharp pair of scissors, and one mug of coffee are enough.
The supplies I actually use
Start with paper that folds cleanly but is not so thin that it collapses. Standard copy paper works for small stars, especially if you want a soft, snowy look. For larger paper xmas stars, I prefer lightweight scrapbook paper, old book pages, plain kraft paper, or leftover gift wrap with a quiet pattern. Avoid glossy paper unless you enjoy fighting with every crease.
You will also need scissors, a pencil, a ruler, and string. I use ordinary cotton twine for a warm look and clear thread when I want the stars to appear suspended. A glue stick is useful for some folded designs, but liquid glue tends to wrinkle paper and leaves suspicious shiny spots. Double-sided tape works for attaching finished stars to a wall, though removable mounting tabs are safer on painted rental walls.
Before cutting anything precious, practice on printer paper. This is not a moral test. It is simply cheaper to discover that your triangle is too shallow on a sheet that cost almost nothing.
My easiest folding method
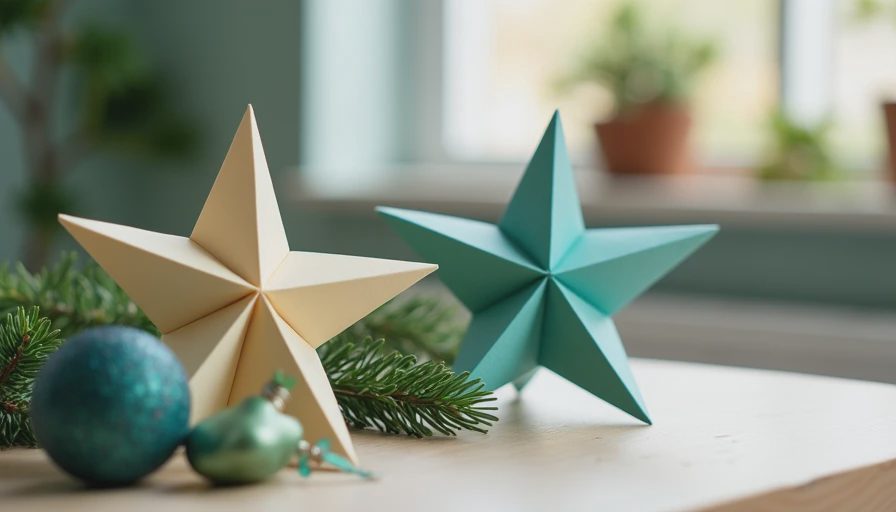
For a simple dimensional star, cut five identical squares. Six-inch squares make a star that works on a tree or shelf; eight-inch squares are more visible in a window. Fold each square in half diagonally, open it, and fold it across the opposite diagonal. You are creating guidelines, not trying to crush the paper into submission.
Open the square and fold it in half vertically, then horizontally. With the paper flat, cut partway toward the center along each crease. Stop before the cuts meet. The distance you leave uncut controls the shape: too close to the middle and the points become floppy; too far out and the star looks blunt.
Fold the cut edges of each point toward one another to make small cones. Secure the overlapping edges with a tiny piece of tape or glue. Repeat for every point, then connect five finished pieces around their centers. Hold the shape together for a minute while the adhesive sets. This method is forgiving, and a slightly uneven point reads as handmade rather than tragic.
How to make paper xmas stars look like decoration
The best paper xmas stars have repetition and breathing room. Hang three large stars at different heights in a window, rather than covering the entire glass with a paper galaxy. For a mantel, try one large star in the center with two smaller stars several inches away. On a dining table, place a low cluster in a shallow bowl so nobody has to conduct a conversation around a forest of craft supplies.
Color matters more than people expect. White and warm cream feel classic, but all-white paper can look flat under cool LED lights. Add one muted color such as faded red, dusty blue, forest green, or brown. I once used silver paper beside bright red and the result looked like a discount party store had developed strong opinions. The following year, I used cream, kraft, and a little charcoal gray. Much better.
If your paper has a loud pattern, pair it with plain paper stars. If every star has a different print, the eye has nowhere to rest. Three related papers will usually look more expensive than twelve unrelated ones, even when the total cost is under ten dollars.
Mistakes I made so you do not have to
My first batch of paper xmas stars was made from very thin tissue paper. They looked lovely for approximately eleven minutes, then sagged whenever the heat came on. Tissue is fine for tiny ornaments, but it needs support. My second batch used heavy cardstock. The folds were crisp, but the finished stars looked stiff and refused to close neatly. Lightweight paper is the comfortable middle ground.
I also made the points too long. They curled forward and looked like angry little sea creatures. Shorter, broader points are easier to assemble and cast a better shadow. If a star is meant to hang in a window, test it against daylight before making twenty more. Paper can look rich on the worktable and strangely gray once the sun hits it.
Do not hang paper directly against a hot bulb, radiator, or open flame. Battery-operated lights are the sensible choice. I use a short strand behind a window arrangement, with the bulbs spaced away from the paper rather than tucked inside it.
A weekend project with a real stopping point
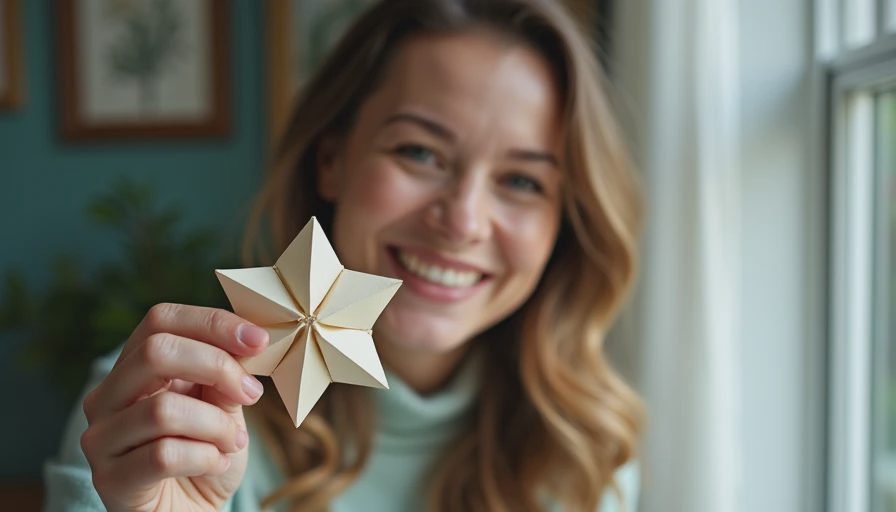
Set aside about an hour for a first group of paper xmas stars. Spend ten minutes choosing paper, fifteen minutes making one test star, and the rest producing a small batch. Stop when you have enough for one area. The temptation is to keep folding because each star costs so little, but that is how a festive accent becomes a ceiling installation you resent removing in January.
For storage, let the stars dry completely, then stack them between sheets of plain paper in a shallow box. Do not cram them into a holiday ornament bin with tangled lights. A few minutes of care now means they can return next year without looking like they survived a luggage carousel.
This is also an excellent project for children who can use scissors safely. Give each child a defined paper color and let the irregularities stay. I would not hand an eight-year-old a bottle of liquid glue near the good tablecloth, but a glue stick, scrap paper, and a tray contain the damage. The finished group feels personal without turning the room into a classroom bulletin board.
My final styling verdict
Paper xmas stars work because they add shape, shadow, and a little human evidence to a room. They are not pretending to be heirloom glass ornaments, and they should not be forced to. Let them look like paper. Hang them where the light can move across the folds, keep the palette narrow, and leave enough empty wall around them.
If you want the fastest version, make five cream stars and string them across a window. If you want something moodier, use kraft paper with dark green thread. If you want a larger display, vary the sizes but repeat the same two or three papers. My favorite paper xmas stars have never been the most technically perfect ones. They are the ones that make the apartment feel ready for December without requiring a shopping cart full of plastic decorations.
Taste is free. Everything else, we thrift.




Letters
No letters yet — be the first to write.