The first time I searched for diy loft bed plans, I wanted one simple thing: more floor space without spending half my rent on a custom carpenter. My twins shared a room, their books were multiplying, and the existing beds left exactly twelve inches between the dresser and the wall. The internet offered beautiful lofts made from suspiciously thin lumber, complicated diagrams, and photos taken before anyone put a mattress on top. So I built our version slowly, measured twice, and learned where cheap construction becomes a genuinely bad idea.
A loft bed can be a smart solution for a small bedroom, but it is not just a tall platform with a mattress on it. The frame needs to carry the sleeper, mattress, bedding, and the occasional child who treats the ladder like playground equipment. Good diy loft bed plans account for stability, guardrails, access, ceiling height, and the particular personality of the room.
Start With the Room, Not the Pinterest Photo
Measure the room before buying a single board. Measure from the floor to the ceiling, then subtract the mattress thickness, the guardrail height, and at least 30 inches of sitting clearance above the mattress. If someone cannot sit up without hitting the ceiling, the design will feel like a punishment, not a clever use of space. In an older apartment, check for baseboard radiators, uneven floors, window swings, and ceiling fixtures.
Our room has an eight-foot ceiling, so I kept the mattress platform about fifty-four inches above the floor. That left a useful reading nook beneath it and enough room for an eight-inch mattress upstairs. A taller platform would have gained storage but made the top bunk stuffy and awkward. A lower design is usually better for younger children and easier to change sheets on, even if the space underneath is less dramatic.
Mark the footprint with painter's tape. I use blue tape for this because it lets me see whether a ladder blocks the closet or whether the bed makes the doorway feel narrow. Leave room to walk around the structure, not just room for the mattress dimensions. A twin mattress is generally 38 by 75 inches, but the finished frame will be several inches larger in both directions.
Materials That Are Worth the Money
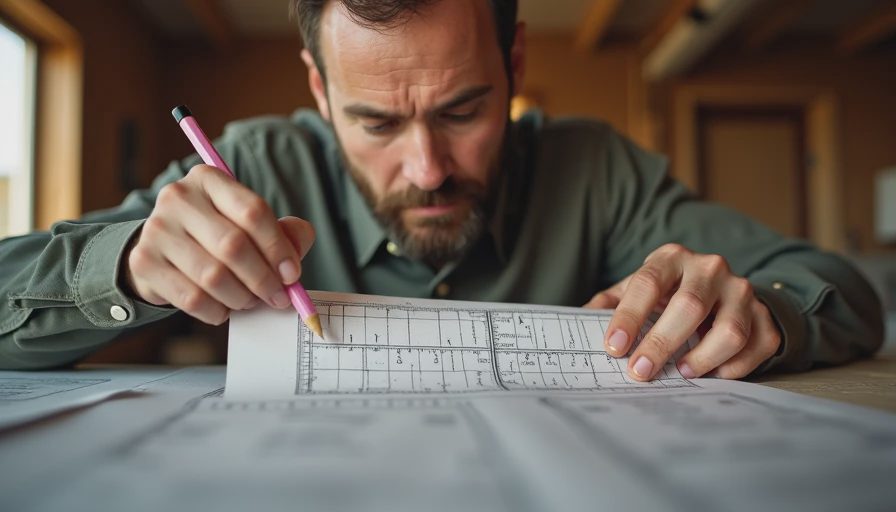
The best diy loft bed plans use ordinary construction lumber, but ordinary does not mean random. For the main posts, I prefer straight 4-by-4 lumber or properly joined 2-by-4 framing, depending on the design. Avoid boards with large splits, severe twists, or soft, damaged ends. Sight down each piece in the store. If it looks like a banana, put it back.
For the platform, use sturdy slats or a properly supported sheet of plywood. Slats need enough support underneath so they do not bow between the rails. Confirm the mattress manufacturer's ventilation requirements before choosing plywood. A bed that traps moisture beneath the mattress is asking for mildew trouble.
I spent about $180 on lumber, hardware, and paint for our first version. Heavy structural screws, corner brackets rated for the job, and quality lag bolts cost more than a tub of decorative knobs, but they are where the money belongs. Do not substitute drywall screws for structural fasteners. They are brittle and not designed to handle the same loads or movement.
Sand every exposed edge, especially around the ladder and guardrail. I used a low-sheen enamel in a warm clay color because it hid fingerprints better than white and made the room feel intentional rather than like a temporary camp bunk. Let the finish cure fully before putting bedding on it.
Safety Details I Refuse to Skip
A guardrail should run along every open side of the upper sleeping area, with an opening only where the ladder enters. The rail needs to sit high enough above the mattress to prevent a rolling sleeper from going over it. Because mattress thickness changes that measurement, install the mattress first and measure from its top surface, not from the bare slats.
The ladder should be attached to the frame, not simply leaned against it. Wide, securely fastened rungs are kinder to bare feet than narrow dowels. I added a handhold at the top because climbing down half-asleep is when a clever project reveals its weak spots. Round the rung edges and test the ladder yourself before handing it over to a child.
Anchor the frame to wall studs when the design and room allow it, especially if the bed is tall or used by an active sleeper. Anchoring does not replace solid construction, but it reduces sway. After assembly, push the structure firmly from several directions. Any rocking means you need to correct the joints, add bracing, or reconsider the design before anyone sleeps there.
Do not place the bed near a window with dangling cords, a ceiling fan, or a radiator. Check local building and product-safety guidance for your household, particularly when building for a young child. The pretty finish is never more important than a boring, dependable frame.
The Design Mistakes I Made First
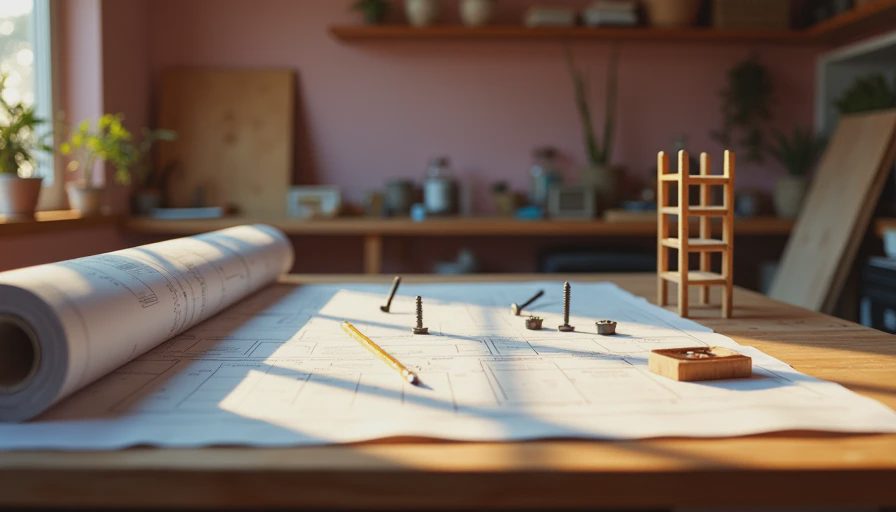
My first sketch put the ladder at the foot of the bed because it looked tidy in the drawing. In real life, it blocked the path to the closet and turned every morning into a sideways shuffle. I moved it to the long side and gained a much better route through the room. This is why full-size tape outlines beat tiny graph-paper plans.
I also underestimated how much room bedding needs. A fitted sheet is manageable, but a comforter needs somewhere to go when a child climbs in. Leave enough clearance beside the mattress to tuck fabric without leaning dangerously over the rail. A removable guardrail section can help with changing sheets, but it must lock firmly back into place.
Another mistake was adding a built-in desk before living with the bed. The desk looked efficient, yet it made the space underneath feel dark and cramped. I replaced it with a small thrifted table on casters. It cost $35, can roll out for cleaning, and gives the room flexibility that built-in furniture rarely provides.
Making the Space Underneath Look Like a Room
The area below a loft can become a reading corner, wardrobe, homework desk, or storage zone. I prefer one clear purpose instead of six plastic bins and a curtain pretending to be architecture. A wall-mounted sconce or plug-in lamp makes the nook useful, but hide cords where feet cannot catch them.
Use a rug only if it lies completely flat and does not create a trip edge near the ladder. A narrow book ledge is more practical than a tall shelf that someone might climb. For color, repeat one shade from the room's existing curtains, artwork, or bedding rather than turning the bed into a separate theme park. Ours has clay paint, navy baskets, and a striped cotton quilt that has survived three years of juice, slime, and one cat-related incident.
Storage does not have to be expensive. A secondhand rolling drawer unit, labeled canvas cubes, or an old wooden crate fixed securely in place can handle pajamas and books. Keep heavy objects low. The lower nook should feel calm and accessible, not like a hardware store aisle.
A Practical Build-and-Test Checklist
Before cutting, confirm the mattress size, ceiling clearance, ladder position, and door swing. Cut one piece at a time and label matching parts with pencil. Assemble the main frame loosely first so you can square it before tightening every fastener. Check the diagonals of the platform; matching measurements usually indicate a square frame.
Once assembled, apply pressure to every corner, climb the ladder, and shake the frame from the floor. Listen for creaks and watch for shifting joints. Put the mattress in place, install the guardrails, and repeat the test. Let the finished paint cure, then inspect the fasteners again after a week and after the first month. Wood can settle, especially in a heated apartment.
The strongest diy loft bed plans are not necessarily the fanciest ones. They are the plans that respect measurements, use suitable hardware, and leave enough room for ordinary life. I would rather have a plain, sturdy frame with a $12 thrift-store quilt than a sculptural bed that wobbles every time someone turns over.
If you are renting, think carefully before anchoring anything and get permission where necessary. A freestanding lower loft may be the better choice, or you might use a commercial frame and personalize the nook beneath it. There is no prize for making a project harder than it needs to be.
Taste is free. Everything else, we thrift.


Letters
No letters yet — be the first to write.