The first do it yourself console table I built was supposed to take one Saturday. Naturally, it took three, involved one crooked drawer, and left my entryway looking like a lumber yard for a week. Still, the finished table cost about $118, which was less than the shipping fee on several ready-made versions I had bookmarked.
That is the appeal here. You do not need a workshop, a table saw, or the mysterious confidence of someone who owns six kinds of clamps. You need a wall measurement, a drill, sandpaper, and the willingness to measure twice before cutting once. I have built, rebuilt, and painted enough furniture to know where beginners waste money and where saving a few dollars creates a wobbly disaster.
Start With the Right Shape and Measurements
A console table is usually long, narrow, and taller than a coffee table. Before buying lumber, measure the wall, the walkway, and the door swing nearby. In my Brooklyn entryway, the useful maximum depth was 12 inches. Anything deeper made taking off shoes feel like an obstacle course, especially with two children and a cat who believes every hallway is a racetrack.
For most apartments, aim for a table 28 to 32 inches high, 30 to 42 inches wide, and 10 to 14 inches deep. Those proportions leave room for a lamp, a bowl for keys, and a framed print without stealing precious floor space. If you are placing the table behind a sofa, measure the sofa first. The tabletop should sit close to the back height, not awkwardly below it.
I recommend construction-grade pine for a first do it yourself console table because it is inexpensive and forgiving. A 1-by-12 board, two 1-by-3 boards, and four table legs can usually land between $65 and $100, depending on your store and leg choice. Look for boards that are straight by holding one end at eye level and sighting down the edge. If it resembles a banana, leave it there.
The Simple Build That Actually Holds Up
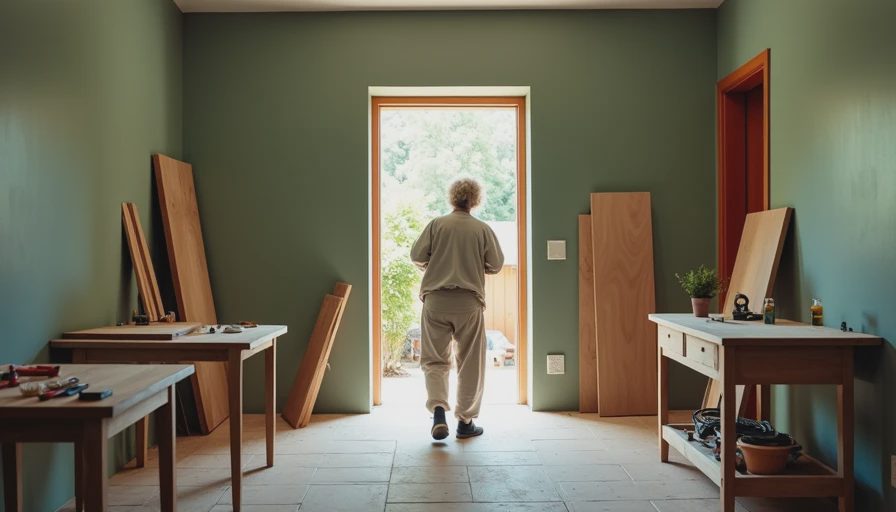
Cut the top to your chosen length, then cut two shorter pieces for the apron or support rails. The rails sit beneath the tabletop and connect the legs, giving the piece structure without making it look like a picnic table. For a 36-inch table, I used two 30-inch rails and attached them between four 28-inch tapered legs.
Drill pilot holes before driving screws. This small step prevents pine from splitting and keeps the screws from wandering out the side. Attach each rail with two screws per joint, then add wood glue to the contact surfaces. Wipe away extra glue immediately; dried glue refuses stain and announces your mistake from across the room.
If your tabletop is wider than 36 inches, add a center support underneath. That extra board costs about $8 and can prevent sagging later. My first table skipped this step, and six months afterward the middle dipped enough for a coffee mug to lean. I fixed it with a support cleat, but I should have spent the eight dollars at the start.
Sand with 80-grit paper first if the lumber is rough, then move to 120-grit and finish with 180-grit. You do not need to polish pine into glass. A little texture looks better under paint and hides the occasional mark from keys or a school backpack.
Paint, Stain, or Leave the Wood Alone?
For a do it yourself console table in a rental, I usually choose paint because it hides inexpensive wood better than stain. My favorite version is a warm, muddy blue with the edges lightly sanded after two coats. It reads like an old flea-market find rather than a fresh project screaming for compliments.
Use a separate primer if the wood is knotty or resinous. One quart of primer and one quart of cabinet or trim paint can cost $35 to $55 total, but you will use only part of each. Paint the legs and rails before assembly if you want crisp coverage, then touch up the screw holes afterward. For stain, test on the underside first. Pine often turns orange, which is charming only if orange was your plan.
Seal the finished table with water-based polyurethane in satin. I use three thin coats, sanding lightly between coats with fine paper. Satin is more forgiving than gloss and does not turn every fingerprint into a headline. Let the piece cure for several days before loading it with books or placing it where children can crash into it.

Make It Look Collected Instead of Homemade
The difference between furniture and a school project is usually the details. Swap plain metal legs for turned wood legs from a salvage store, or use black hairpin legs if the rest of the room can handle that familiar shape. I found a set of four used oak legs for $24 at a neighborhood reuse shop. They had chipped paint, but sanding and a coat of cream enamel made them look intentional.
Add one drawer only if you genuinely need one. A drawer requires careful measurements, runners, and patience. For keys, a ceramic dish works. For mail, I prefer a thrifted shallow box that can be lifted and emptied. Decorative storage becomes clutter when it is too small to hold the thing it is supposed to organize.
Keep the styling restrained: one lamp, one useful container, and a piece of art with enough scale to meet the furniture. A tiny frame floating above a long table is not charming; it is lost. In my entryway, a $12 brass lamp from Facebook Marketplace and a large print I already owned did more than a pile of new accessories.
Mistakes I Would Avoid on Your First Build
Do not skip wall anchoring if the table is tall, narrow, or placed where children can pull on it. Use an anti-tip bracket secured to a wall stud when possible, or use the correct anchor for your wall type. A console table is not a climbing structure, but households are full of people and animals who did not read that memo.
Do not buy lumber before deciding whether you will use paint or stain. Paint hides mismatched boards; stain highlights them. Do not assume the hardware-store cuts will be perfect, either. Bring a tape measure home and check every piece before assembly. A quarter-inch difference can turn a square frame into a wobble.
Finally, do not overbuild the top. A thick slab can look heavy in a narrow apartment and make the table seem more expensive only in the wrong way. A 3/4-inch board with proper support is usually enough for lamps, baskets, and ordinary daily clutter.
What This Project Should Cost
A basic do it yourself console table can cost roughly $90 to $150: $35 to $55 for lumber, $25 to $45 for legs, $10 for screws and glue, and $20 to $40 for paint or finish. Reusing hardware and leftover paint can bring that total closer to $60. A version with a drawer, nicer hardwood, or custom legs may reach $200, which is still reasonable if you will live with it for years.
Compare that with flat-pack furniture that costs $140 before delivery and may use hollow panels that cannot be repaired easily. The handmade version takes more effort, but you control its width, color, and strength. You can also fix a scratch without replacing the whole thing.
My favorite do it yourself console table is still the imperfect blue one. The top has a small knot, one leg is not quite as graceful as the others, and Gouache has scratched the lower rail. It works hard, looks good, and cost less than a trendy lamp. That is enough. Taste is free. Everything else, we thrift.
Letters
No letters yet — be the first to write.