I learned how to install beadboard after staring at a sad, scuffed hallway wall for three years and assuming the project required a contractor, a brad nailer, and a personality that enjoys measuring things. It does require measuring. The rest is manageable. Beadboard is one of those old-house details that can make a room feel finished, but only if the seams are quiet, the top edge is intentional, and the paint job does not look like it was applied during a fire drill.
My hallway cost about $180, including panels, trim, adhesive, primer, and paint. That was several years ago, and it has survived twins, a cat, grocery bags, and one very enthusiastic game of indoor soccer. Here is the method I would use again, including the mistakes I would skip.
Choose the right beadboard before you touch a saw
The first decision is whether to use real tongue-and-groove boards or sheet panels. For a beginner, I strongly prefer primed MDF beadboard panels. They are usually sold in 4-by-8-foot sheets, cost less than individual boards, and create fewer visible seams. Real wood is beautiful, but it expands and contracts, and a narrow hallway is not where I want to practice seasonal movement.
When learning how to install beadboard, measure the wall width and height, then subtract the openings for doors or built-in cabinets. Buy one extra panel if your walls have awkward corners. A damaged sheet can turn a simple Saturday project into a Sunday evening emergency, and stores are not always holding the same panel profile when you need a replacement.
Avoid the flimsy panels that feel like cereal-box cardboard. Press gently near the center; if it bends dramatically, it will telegraph every lump in the wall. My practical sweet spot is a panel thick enough to stay flat but light enough to carry upstairs without calling Marcus for assistance.
Prepare the wall and plan the layout
Do not skip wall preparation. Remove outlet covers, baseboards, and any loose paint. Fill obvious dents with spackle and scrape down ridges. You do not need a perfectly smooth wall, but you do need a reasonably flat one. Beadboard can disguise an ugly surface; it cannot perform structural magic.
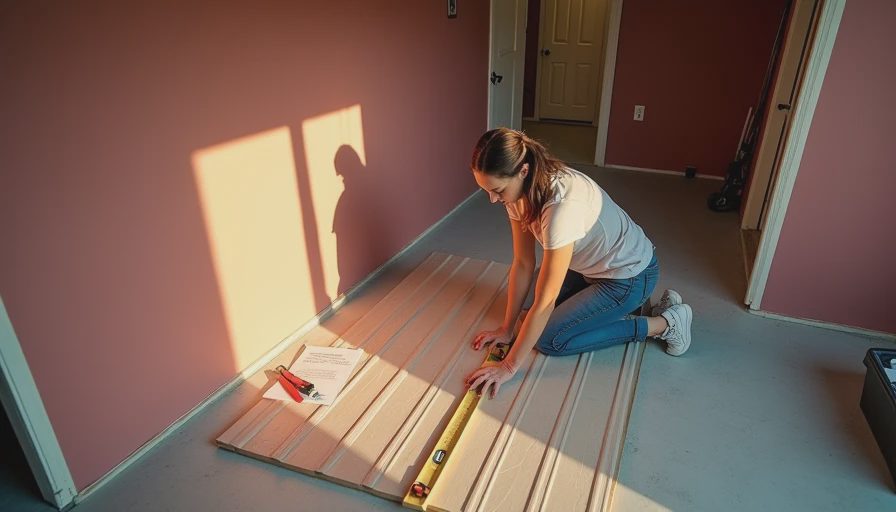
Find and mark the studs with a stud finder, then snap a level horizontal line where the top of the panels will sit. In my hallway, that line landed 42 inches above the floor, which gave the wall enough protection without making the ceiling feel low. A common mistake is choosing the height by eye and discovering that it hits every light switch at an irritating angle.
Dry-fit the panels before applying anything. Start at the most visible corner and work toward the least visible one. If the final panel will be a skinny strip, adjust the first panel so both ends are reasonably balanced. A three-inch sliver at the doorway looks like an accident. A seven-inch strip at each side looks like a decision.
Cut panels carefully and attach them securely
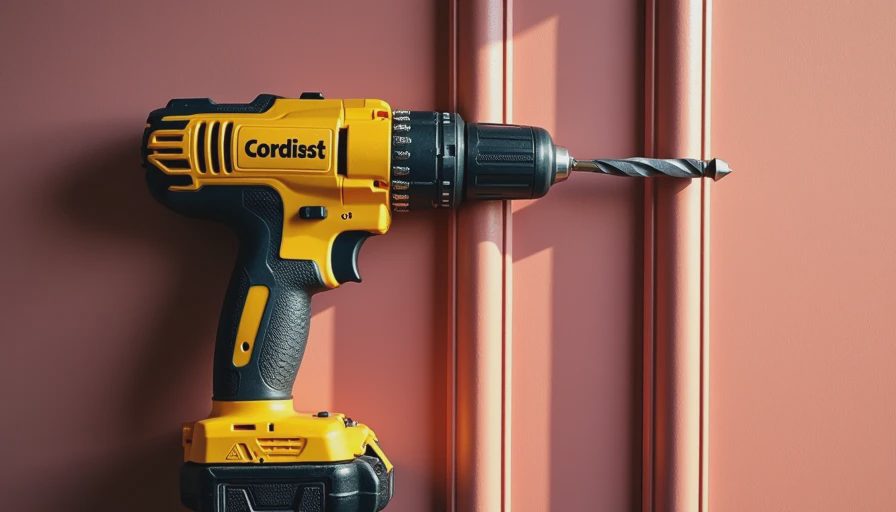
Measure each section twice, especially around door trim and electrical boxes. Mark the finished side lightly with pencil, and use a fine-tooth blade to reduce splintering. For outlet openings, make a paper template from the box location, transfer it to the panel, and drill starter holes before cutting with a jigsaw. Turn off power at the breaker before working around outlets; removing a cover plate is not the same as making the wiring safe.
If you are figuring out how to install beadboard without a nail gun, construction adhesive and finish nails can work together. Apply adhesive in vertical zigzags on the back of the panel, keeping it away from the edges so it does not squeeze onto the face. Press the sheet into position, check the level, and secure it into studs with 1 1/4-inch finish nails. A hammer and nail set are slower but perfectly serviceable.
Do not use random nails across the middle where they will be hard to conceal. Nail near the grooves or in locations covered by trim. Wipe adhesive immediately. Dried adhesive is much more annoying than wet adhesive, which is a sentence I have repeated in every room I have painted.
Hide seams, corners, and the bottom edge
The trim is what makes the project look deliberate. For a corner seam, use a corner molding or place the seam in the least noticeable corner. Do not force two imperfectly cut panels to meet in the middle of a focal wall and hope paint will save you. Paint is powerful, but it is not a miracle worker with a tiny cape.
Fill nail holes with lightweight spackle, then sand them smooth. Caulk the top edge, inside corners, and any small gaps around trim. Use paintable acrylic-latex caulk, not silicone, because silicone generally will not accept paint well. Apply a narrow bead and smooth it with a damp finger. The goal is a clean shadow line, not a raised white rope.
For the base, reinstall the original baseboard if its profile works, or add a simple cap molding over the lower edge. If the beadboard ends at a doorway, a vertical casing or small transition trim gives the edge a finished stop. This is where inexpensive materials can look custom: consistent lines matter more than fancy profiles.
Prime, paint, and avoid the most common finish mistakes
Even factory-primed MDF deserves attention. Lightly sand rough spots, wipe away dust, and spot-prime exposed cut edges. Those edges absorb paint aggressively and can swell if you soak them. I use a small brush for grooves and a short-nap roller for the broad surface. Two thin coats are better than one thick coat that fills the beads and leaves drips at the bottom.
When I explain how to install beadboard, I always mention sheen. Satin or washable eggshell is practical for hallways, mudrooms, dining rooms, and kids’ bedrooms. Flat paint shows every scuff and is miserable to wipe clean. Semi-gloss is durable but can make wall imperfections look louder, especially in direct afternoon light.
Choose a color that supports the room rather than trying to make the paneling the entire personality. Warm white with a slightly darker wall above it is a reliable combination. Deep green, dusty blue, and muted clay can also work beautifully, but sample them beside the floor and trim. A paint chip is not a lighting plan.
What this project costs and where to save
A basic 4-by-8-foot panel often lands somewhere around $30 to $70, depending on thickness, material, and whether it is already primed. Add $25 to $60 for adhesive, nails, caulk, and spackle. Trim can add another $40 to $120 for a small room. Paint is the variable; a gallon of quality interior paint commonly covers this project with some left for touch-ups.
Save money by using the existing baseboard, borrowing a miter saw, and buying standard trim rather than a decorative profile. Do not save money by skipping primer on cut edges or buying the thinnest panel available. Those choices can cost more after swelling, dents, or visible seams force a redo.
The best reason to learn how to install beadboard yourself is control. You can stop at the height that suits your room, use leftover paint, and fix one damaged panel without paying someone to return for a tiny repair. My hallway is not perfect; one seam is slightly more visible in winter. But it looks intentional, feels sturdy, and cost less than a weekend of decorative panic.
Take your time with layout, make the trim do the visual heavy lifting, and keep a damp rag nearby. Taste is free. Everything else, we thrift.



Letters
No letters yet — be the first to write.