Making a table sounds like the kind of project that begins with confidence and ends with a crooked slab wobbling under a bowl of lemons. I know because my first attempt did exactly that. The table leaned so dramatically that Gouache, our cat, used one leg as a scratching post and improved the overall balance. The good news is that making a table is not mysterious. It is mostly measuring carefully, choosing wood that is not pretending to be straight, and accepting that your first coat of finish will look worse than the final one.
I am not going to tell you that you need a $600 table saw or a dedicated workshop. I live in a Brooklyn apartment. My “shop” is usually a sheet of cardboard on the floor, a borrowed drill, and Marcus asking why there is sawdust in the hallway. With a basic drill, sandpaper, screws, and a premade top or salvaged board, you can make something sturdy for roughly $75 to $200, depending on what you find.
Start With the Table You Actually Need
Before making a table, decide what job it has to do. A narrow entry table needs different proportions from a dining table, and a bedside table should not be built like a workbench unless you enjoy hitting your knee every morning. Measure the wall, walkway, chairs, and doors around it. Leave at least 30 inches for a comfortable passage where people will walk regularly.
For a small dining table, a height around 28 to 30 inches is comfortable for most chairs. A console can be 10 to 16 inches deep, although I prefer 12 inches in a tight apartment. The mistake I made in our old Williamsburg rental was building a console based on the empty wall instead of the actual traffic pattern. It looked beautiful for approximately three days, then became a hip-level bruise.
Making a table from a thrifted tabletop can save the most money. Look at old desks, solid wood doors, butcher-block counters, and damaged dining tables. Ignore ugly stain and focus on construction. Surface color can change with sanding or paint; a cracked board running through a load-bearing area is a different problem.
Choose Materials Without Getting Fleeced
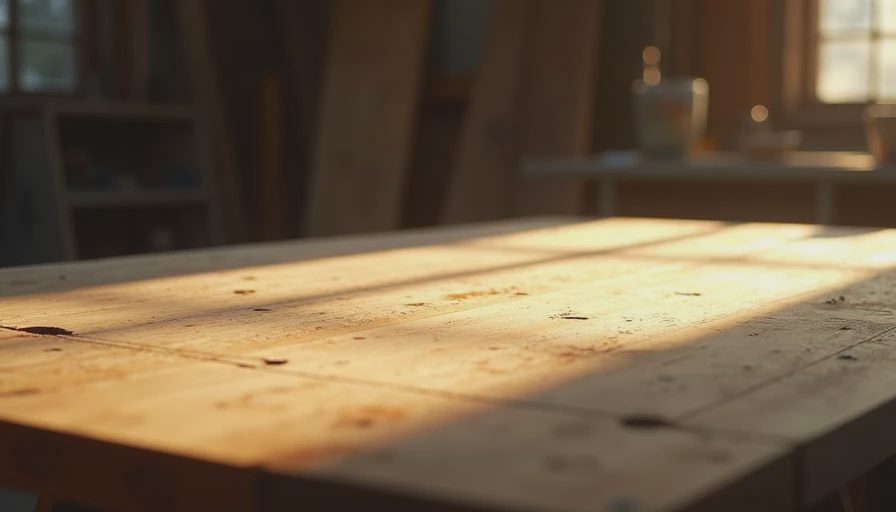
The big-box store is convenient, but it is not automatically cheaper. A pine project panel might cost $35 to $70, while a scratched solid-wood desk from Facebook Marketplace could cost $20 and already have a finished edge. I once bought a maple drafting table for $40, removed its metal base, and turned the top into a dining table. The wood had pencil marks, paint flecks, and one suspicious coffee ring. After cleaning and oiling, those flaws became the reason it looked like it had a past.
When making a table, check the underside before falling in love with the top. Look for water damage, swollen particleboard, stripped screw holes, and repairs that seem to be held together by optimism. Solid wood usually shows grain on every edge. Veneer can be perfectly useful, but damaged veneer is harder to disguise than a dent in solid wood.
For legs, hairpin legs are easy and visually light, but they can feel bouncy on a large top. Four straight legs with corner brackets give a more stable result. I have used inexpensive steel legs from hardware stores and salvaged legs from a broken table. Buy the strongest option your budget allows, then spend your attention on leveling. A beautiful table that rocks is still a bad table.
The Build: Slow Down at the Boring Parts
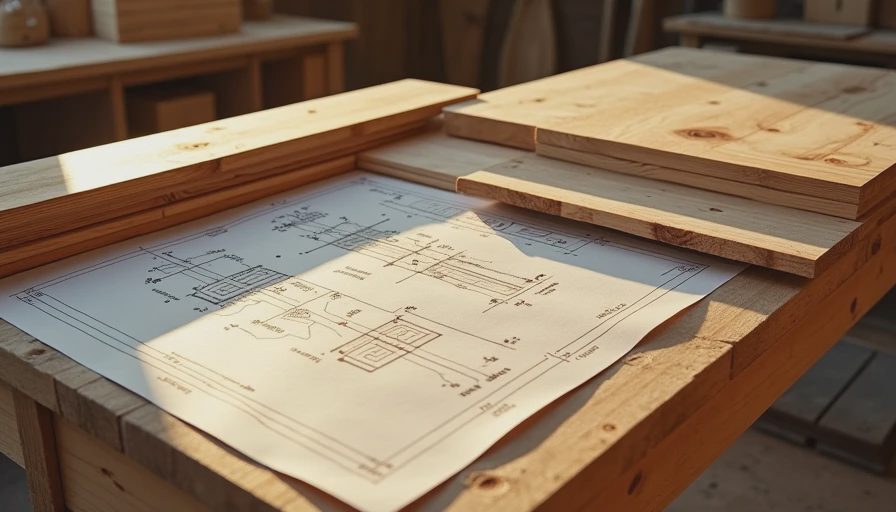
Making a table becomes much less stressful when you treat the layout like a drawing. Mark the centerline, measure from both ends, and use a square before drilling anything. Do not trust the edge of a board to be straight; trust your measurements. Clamp legs in place and test the spacing with a chair before committing to holes.
Pre-drill screw holes, especially near the ends of pine or oak. This prevents splitting and makes the screws seat cleanly. If you are attaching a solid-wood top, use hardware that allows a little seasonal movement rather than gluing the top rigidly to the base. Wood expands and contracts with humidity. Your table does not need a dramatic personality change every summer.
Make the first assembly without glue or finish. Put the piece on a flat surface, sit beside it, push from each corner, and listen for movement. If one leg is short, do not immediately cut the others. Add a thin felt pad or adjust the attachment before making an irreversible decision. I learned this after trimming a leg and discovering that my apartment floor, not the table, was the crooked part.
Sanding and Finish Are Where the Look Happens
A table can be structurally perfect and still look like a school shop project if you rush the finish. Start with 80- or 100-grit paper only when the surface is rough or coated in stubborn paint. Move to 150, then 220 for a smoother result. Sand with the grain and vacuum between grits. A random-orbit sander is helpful, but a sanding block works if you are patient and trying not to wake the neighbors.
I usually test stain on the underside first. Warm oak stain can turn orange on pine, while walnut stain often looks pleasantly chocolate-colored on both. If the wood is blotchy, use a pre-stain conditioner or skip stain and use a clear water-based finish. Paint is not a consolation prize. A deep green or chalky cream can make mismatched legs and a patched top look intentional.
For a working dining surface, use several thin coats of polyurethane, allowing each coat to dry according to the label. Matte or satin finishes hide fingerprints better than glossy ones. A hardwax oil feels lovely and is easy to refresh, but it still needs sensible care. No finish makes a table immune to hot pans, standing water, or children discovering permanent markers.
What I Would Do Differently Next Time
Making a table taught me that the cheapest-looking part of a project is often the hardware. Tiny brackets, weak screws, and flimsy leveling feet can undermine an otherwise excellent build. Spend an extra $10 or $20 on proper screws and adjustable feet. That is a much better use of money than buying decorative trim to distract from a wobbly base.
I would also make a cardboard template before cutting a large top. Tape together grocery boxes, place the template in the room, and live with it for a day. You will notice things that measurements miss: a corner that blocks a drawer, a chair that cannot pull out, or a walkway that feels annoyingly narrow. Cardboard is free and does not require a return trip to the hardware store.
If you are nervous, start with a side table. It uses less material, exposes mistakes quickly, and can be useful even when the proportions are not perfect. My first side table now holds paint cans in the closet. It is not glamorous, but it has survived five moves and one enthusiastic cat, which is more than I can say for several expensive pieces.
The Honest Budget and Final Result
A realistic small project might include a $30 salvaged top, $45 legs, $12 in screws and brackets, $15 in sandpaper, and $18 in finish. That puts you around $120 before tools. Buying every tool from scratch changes the calculation, so borrow a drill or use a local tool library if one is available. Do not buy a power tool for one afternoon unless you already know you will use it again.
Making a table is worth doing when you want a specific size, have access to an interesting old surface, or enjoy the satisfaction of fixing a problem with your hands. It is not automatically cheaper than shopping secondhand, and it is not always faster. A solid vintage table for $90 can beat a weekend of construction. But making a table lets you choose the depth, height, color, and attitude of the piece instead of accepting whatever fits through someone else’s doorway.
My finished dining table, Harold, cost about $140 and took two Saturdays. The top has a small repaired knot, the legs are not from the same original set, and the finish has already collected a few family marks. That is the point. It works, it looks like us, and nobody has mistaken it for a showroom prop. Taste is free. Everything else, we thrift.


Letters
No letters yet — be the first to write.