The first roman shade I made looked like it had been assembled during a minor emotional crisis. The fabric was crooked, the folds were lumpy, and the back looked like a tiny pulley system designed by someone who had never met a window. Still, learning how to make a roman shade is absolutely worth the trouble. A good one can soften a room, hide an ugly view, and make inexpensive fabric look intentional. Mine cost about $38, including the thrifted linen, and it has survived three years in our kitchen.
The honest warning is that measuring matters more than sewing talent. A shade that is two inches too wide will fight the window frame forever. A shade that is too short looks like it shrank in the wash. So take your time at the beginning, then let the rest be a slightly imperfect handmade object. Taste is free. Everything else, we thrift.
What you need before you start
For one inside-mounted shade, gather your fabric, lining, a wooden headboard or mounting board, fabric scissors, a tape measure, a ruler, pins, an iron, thread, and a sewing machine. You will also need small plastic rings, cord, cord cleats, and dowels or thin wooden rods for the horizontal folds. I bought rings and cord from a local sewing shop for under $12. Do not use random jewelry rings; they can snag the cord and make the shade pull unevenly.
Choose fabric with enough body to hold a fold but not so much stiffness that it becomes a quilted brick. Cotton canvas, medium-weight linen, ticking, and old drapery fabric work well. Lightweight quilting cotton needs lining or it will look flimsy against the window. Before cutting, wash and dry washable fabric exactly as you plan to care for it. My first shade skipped this step and lost nearly an inch after its first wash. That was a preventable little tragedy.

Measure the window without lying to yourself
To learn how to make a roman shade successfully, measure the actual window opening in three places: top, middle, and bottom. Record the narrowest width. For an inside mount, subtract about half an inch from that narrowest measurement so the shade can move without scraping the frame. Measure the height from the top inside edge to the sill, then add a few inches if you want the shade to rest below the glass.
For an outside mount, measure the window width and add two to four inches on each side. Add at least three inches above the frame so the stacked shade clears the glass when raised. I prefer an outside mount in older apartments because it hides uneven trim and makes a small window look larger. Write every measurement on paper, not just in your phone. Fabric math becomes suspiciously slippery once scissors enter the room.
Cut the front fabric to the finished width plus one inch for side hems and the finished length plus two inches for the top and bottom hems. Cut the lining to the finished width minus one inch and the finished length minus one inch. That slight difference helps the lining sit behind the face fabric instead of peeking around the edges.
How to make a roman shade with clean, even folds
Press the side edges of the face fabric twice, about half an inch each time, and stitch them. Press the bottom edge up one inch, then again, creating a neat hem. Attach the lining to the wrong side with the top and side edges aligned, leaving the bottom free if that makes turning easier. Press the whole panel before marking anything. Wrinkles at this stage become permanent evidence later.
Roman shades usually have folds between six and ten inches apart. I use eight inches for a standard window because it looks substantial without creating an enormous stack at the top. Mark horizontal fold lines on the lining, not the front. At each line, sew a narrow fabric tape or a row of small rings. Keep every row level and use the same number of rings across each row. A ruler is less glamorous than intuition, but intuition is how my first shade developed a diagonal personality.
Slide a dowel into each horizontal pocket or secure it to the lining according to your chosen construction. The dowels keep the folds crisp; without them, the shade tends to slump like a tired accordion. At the top, attach the finished fabric to the mounting board with a staple gun or strong upholstery tacks. Fold the top edge over the board so the hardware disappears from the room.
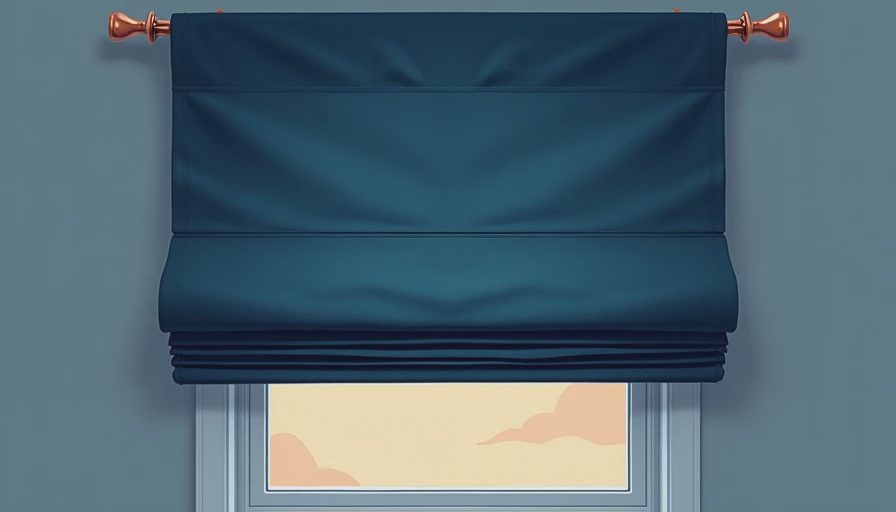
Thread the cords and mount the shade
This is the part where patience earns its keep. Thread one lift cord through each vertical column of rings, starting at the bottom and moving upward. Bring all cords toward the side you will use to operate the shade. The cords should travel through every ring without crossing. Crossed cords create a crooked lift, and crooked lifts are remarkably good at making an otherwise attractive project look homemade in the wrong way.
Install the mounting board level, using screws appropriate for the wall or window trim. If you are mounting into drywall, use suitable anchors rather than relying on a lonely screw and hope. Attach a cord cleat high enough that children and pets cannot reach loose cords. Corded window coverings can pose a strangulation hazard, so follow current safety guidance and consider a cordless lift for a child’s room. A cordless mechanism costs more, but it is the one place where I would not thrift blindly.
Raise the shade slowly and adjust the cords before trimming them. If one side rises first, check the ring alignment and make sure no cord is rubbing against a stitch. Leave extra cord until the shade has been tested for a week. Once you cut it short, the shade will not accept your apology.
How to make a roman shade look expensive
The fabric does most of the visual work, so spend your attention there rather than buying decorative hardware. A faded floral tablecloth, a striped cotton shower curtain, or a remnant from a fabric store can all work if the pattern scale suits the window. Avoid tiny busy prints on a wide shade; the folds will break the pattern into visual confetti. Large checks, quiet stripes, and painterly florals are more forgiving.
Line up stripes carefully across the face, and keep the bottom edge perfectly straight. Steam the shade after installation, then lower and raise it several times so the folds learn their shape. I also leave a small gap between the shade and the sill rather than forcing the fabric to bunch. That gap makes the treatment look relaxed instead of like a curtain that lost a fight with the window.
Troubleshooting the mistakes that actually happen
If the shade hangs crooked, do not immediately remake it. Check whether the headboard is level, whether the cords are equal in length, and whether the rings sit in straight columns. If the fabric bows in the middle, the lining may be too loose or the folds may be too wide for the material. Add another ring column before adding more hardware. If the shade refuses to stack neatly, press each fold and inspect the dowels for uneven lengths.
For renters, use an outside-mount board attached to existing trim only when the trim is solid and the lease permits it. You can also make a relaxed shade with fabric, a tension rod, and stitched fold channels, but it will not lift as smoothly as a corded version. That is fine for a decorative kitchen window that rarely needs privacy.
Knowing how to make a roman shade means accepting that the first attempt is partly a measuring exercise and partly a negotiation with fabric. Start with one ordinary window, not the enormous bay window in your living room. Choose fabric you can afford to get wrong, build slowly, and inspect the back before admiring the front. The finished shade will not be factory-perfect, which is precisely why it can make a room feel like yours.

Letters
No letters yet — be the first to write.