The first time I painted a bathroom vanity, I skipped sanding because the label said the primer would stick to anything. It did not. Three damp mornings later, the doors looked like they had a skin condition. Choosing the right bathroom cabinet paint matters, but preparation matters more. If you are working with a builder-grade oak vanity, a dark laminate cabinet, or a scratched thrift-store find, you can get a convincing makeover without spending thousands on a new cabinet.
Start with the cabinet, not the color
Before buying supplies, figure out what you are painting. Solid wood and wood veneer are forgiving. Laminate can work, but it needs a very clean surface and a bonding primer. Thermofoil, the thin plastic coating found on some inexpensive cabinets, is trickier. If it is peeling around the edges, paint will not fix the underlying problem for long. Remove the loose coating or accept that replacement may be the saner choice.
My Fort Greene bathroom vanity is oak veneer from the previous owner, complete with orange varnish and one drawer that never sat straight. I used a quart of Benjamin Moore Advance in a muted blue-gray, which cost about $35 at the time, plus a $12 bonding primer. Three years later, the paint is still intact around the sink. The drawer is still crooked. Paint cannot perform carpentry.
For most bathrooms, I prefer a waterborne alkyd or a high-quality acrylic enamel. Benjamin Moore Advance, Sherwin-Williams Emerald Urethane, and Behr Cabinet, Door & Trim Enamel are common options. They are not magic, and none eliminates prep, but they level better and cure harder than ordinary wall paint. That matters on doors you open with wet hands.
The preparation that prevents peeling
Take off every door, drawer front, hinge, and handle you can remove. Put each hinge and screw in a labeled bag. I once reinstalled six nearly identical hinges in the wrong places and spent an entire Saturday diagnosing a door that was, technically, upside down.
Clean the cabinet with a degreaser before sanding. Bathrooms collect hairspray, hand lotion, soap residue, and dust with surprising enthusiasm. Krud Kutter or a diluted household degreaser works well; rinse afterward and let the surface dry completely. Do not paint over a film you cannot see. It will become the paint's problem, and then your problem.
Lightly sand glossy surfaces with 180- or 220-grit paper. You are not trying to remove every mark or turn the vanity into raw wood. You are creating a fine tooth for the primer. Vacuum the dust, wipe with a damp microfiber cloth, and let everything dry again. Fill old hardware holes with wood filler if you are changing the knob placement, then sand those repairs smooth.
The best bathroom cabinet paint job I have done involved the least dramatic color and the most boring cleaning. The worst involved a gorgeous deep green applied over shiny polyurethane. The green was not the villain. My impatience was.
Pick a finish that can handle real life
A satin finish is my default for bathroom cabinets. It has enough sheen to wipe clean but does not spotlight every brush mark the way semi-gloss can. Semi-gloss is tougher-looking and useful in a busy family bathroom, though it can make uneven doors look more uneven. I would avoid flat and matte finishes on vanity doors unless you are deliberately choosing a high-maintenance look.
Color depends on the room's permanent elements. If your floor tile is pink-beige, a blue-white cabinet can make it look more pink. If the counter is speckled tan granite, a warm white, mushroom, olive, or dusty blue will usually cooperate better than a stark cool white. Bring a tile sample or a photograph taken in daylight when you choose a paint chip.
My practical shortlist is soft white for a dark, windowless bathroom; smoky blue for white tile; olive gray for warm brass hardware; and near-black only when the room has enough light to support it. A small bathroom does not automatically need white. It needs a color that does not fight the tile.
Apply bathroom cabinet paint without brush marks
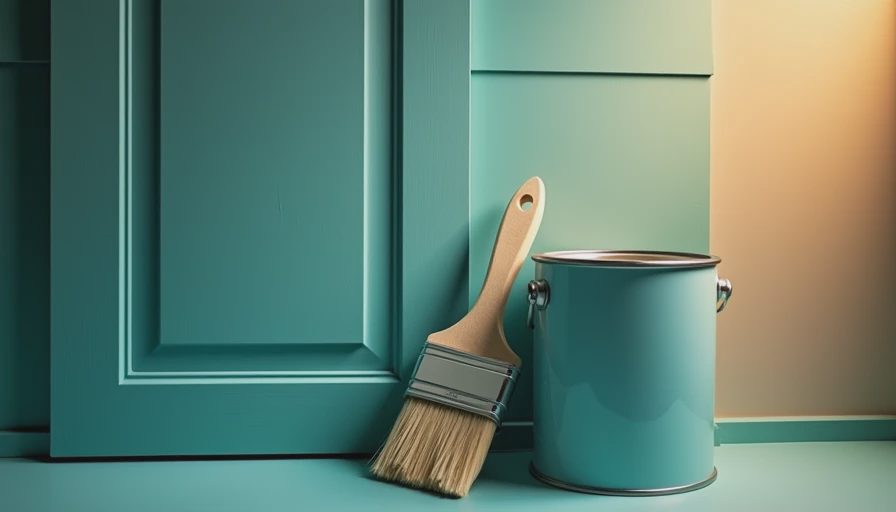
Use a four-inch microfiber or mohair roller for flat cabinet sides and a good angled brush for corners and profiles. Do not load the brush until it is dripping. Two thin coats beat one heroic coat every time. After the primer dries according to its label, sand very lightly with 320-grit paper, remove the dust, and apply the first finish coat.
Let the doors dry flat, then flip them only when the surface is firm enough not to print from your supports. I use small painter's pyramids, but clean bottle caps can work in a pinch. Keep the doors off the cabinet while they cure. Dry to the touch is not the same as cured, and bathroom cabinet paint can feel ready while still marking under a fingernail.
Follow the product's recoat and cure directions instead of trusting a random internet timetable. Give the finished doors several days before heavy use, and longer if the room is cool or humid. Reinstalling hardware too soon is how fresh paint gets crescent-shaped dents around every screw.
What the project actually costs
For a standard 30- to 36-inch vanity, my realistic DIY budget is $80 to $160. That includes cleaner, sandpaper, primer, paint, a small roller, a brush, tape, and disposable gloves. If the cabinet needs new knobs, add $20 to $60 for a basic set. A new stock vanity can easily cost several hundred dollars before the faucet, countertop, plumbing work, and disposal of the old unit.
The expensive part is not usually the paint. It is the time. Plan on one evening for removal and cleaning, another for sanding and priming, and a few short sessions for coats and curing. If you have one bathroom and cannot live around a spread of doors, create a temporary work area in a bedroom or garage. Just do not paint in a steamy bathroom with the shower running. Moisture and dust are a terrible decorating team.
Brand choice is less important than using a product intended for trim, doors, or cabinets. A $25 quart applied carefully will outperform premium bathroom cabinet paint slapped over grease. Keep leftover paint labeled with the room, color, sheen, and date. Future-you will be grateful when a drawer edge gets chipped.
The mistakes I would skip now
I would not paint around installed hinges, knobs, or drawer hardware. It looks faster and produces gummy edges. I would not use chalk paint as a shortcut on a frequently splashed vanity unless I was prepared to seal it properly and touch it up. I would not choose a color from a tiny online square, especially for a room with weak artificial light.
I would also avoid adding a thick clear coat unless the paint manufacturer recommends one. Some topcoats yellow, remain tacky, or react with the finish underneath. Good cabinet enamel, proper prep, and patience are usually a cleaner system. If the vanity sits directly beside a shower and receives constant water, wipe splashes promptly and repair chips before moisture reaches the substrate.
My final bathroom cabinet paint test is simple: after the cure period, open the doors with damp hands, wipe toothpaste splatter, and look at the edges. If the finish still feels smooth and the color works with the tile at 7 a.m., you have a successful makeover. Taste is free. Everything else, we thrift.
Letters
No letters yet — be the first to write.